How To / Ceiling Battens
How to Install Metal Ceiling Battens Correctly
A ceiling is judged from below in raking light, so the battens above it have no margin for error. Here is how to install metal ceiling battens the way the plasterboard manufacturers assume it will be done: right spacing, solid fixing, dead level plane.
SEC 01 / Tools and safety
Tools and safety checks
Metal battens need less kit than timber, but the kit matters. Have all of it on the platform before the first batten goes up.
| Item | Why it is there |
|---|---|
| Drill driver with a clutch | Drives self drilling screws without stripping or over tightening |
| String line or laser level | Establishes the ceiling plane and holds it across the room |
| Aviation snips or metal cut off saw | Trims battens to length with a clean edge |
| Tape and marker | Centres are measured and marked, never eyeballed |
| Self drilling screws | Two at every joist crossing, one through each flange |
| Rated platform or scaffold | Stable height for overhead work, not improvised stacks |
Before starting: eye protection whenever steel is cut, gloves for handling cut edges, and a stable, rated platform rather than improvised height. Trimmed steel leaves a sharp burr, so deburr or handle cut ends with care, and keep leads and hoses off the walking surface.
SEC 02 / Spacing
Determining correct spacing for plasterboard
Spacing comes from the board, not the frame: 450mm maximum centres for 10mm plasterboard, up to 600mm for 13mm, measured centre to centre. Both figures trace back to the plasterboard installation guides and AS/NZS 2589, and both are maximums, not targets.
Two more numbers finish the setout. The first batten sits within about 50mm of the wall line so the sheet edge and cornice are supported, and every sheet end joint must land on a batten. The full reasoning sits in our ceiling batten spacing guide, and the product itself is on the steel ceiling battens page.
SEC 03 / Fixing
Fixing battens to ceiling joists and trusses
- Run battens across the supports.Battens run at right angles to the joists or truss bottom chords, flanges up against the frame, crown facing the room.
- Fix through both flanges.Two self drilling screws at every joist crossing, one through each flange. The flange sits flat, so the screw pulls the batten tight without distorting the profile.
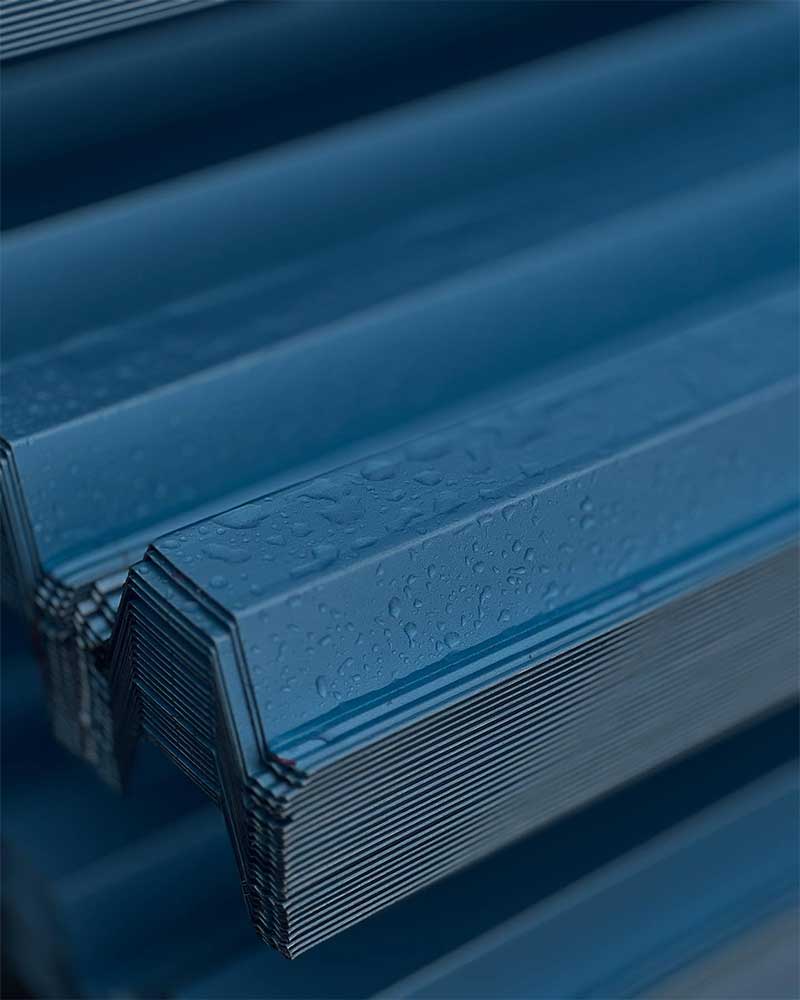
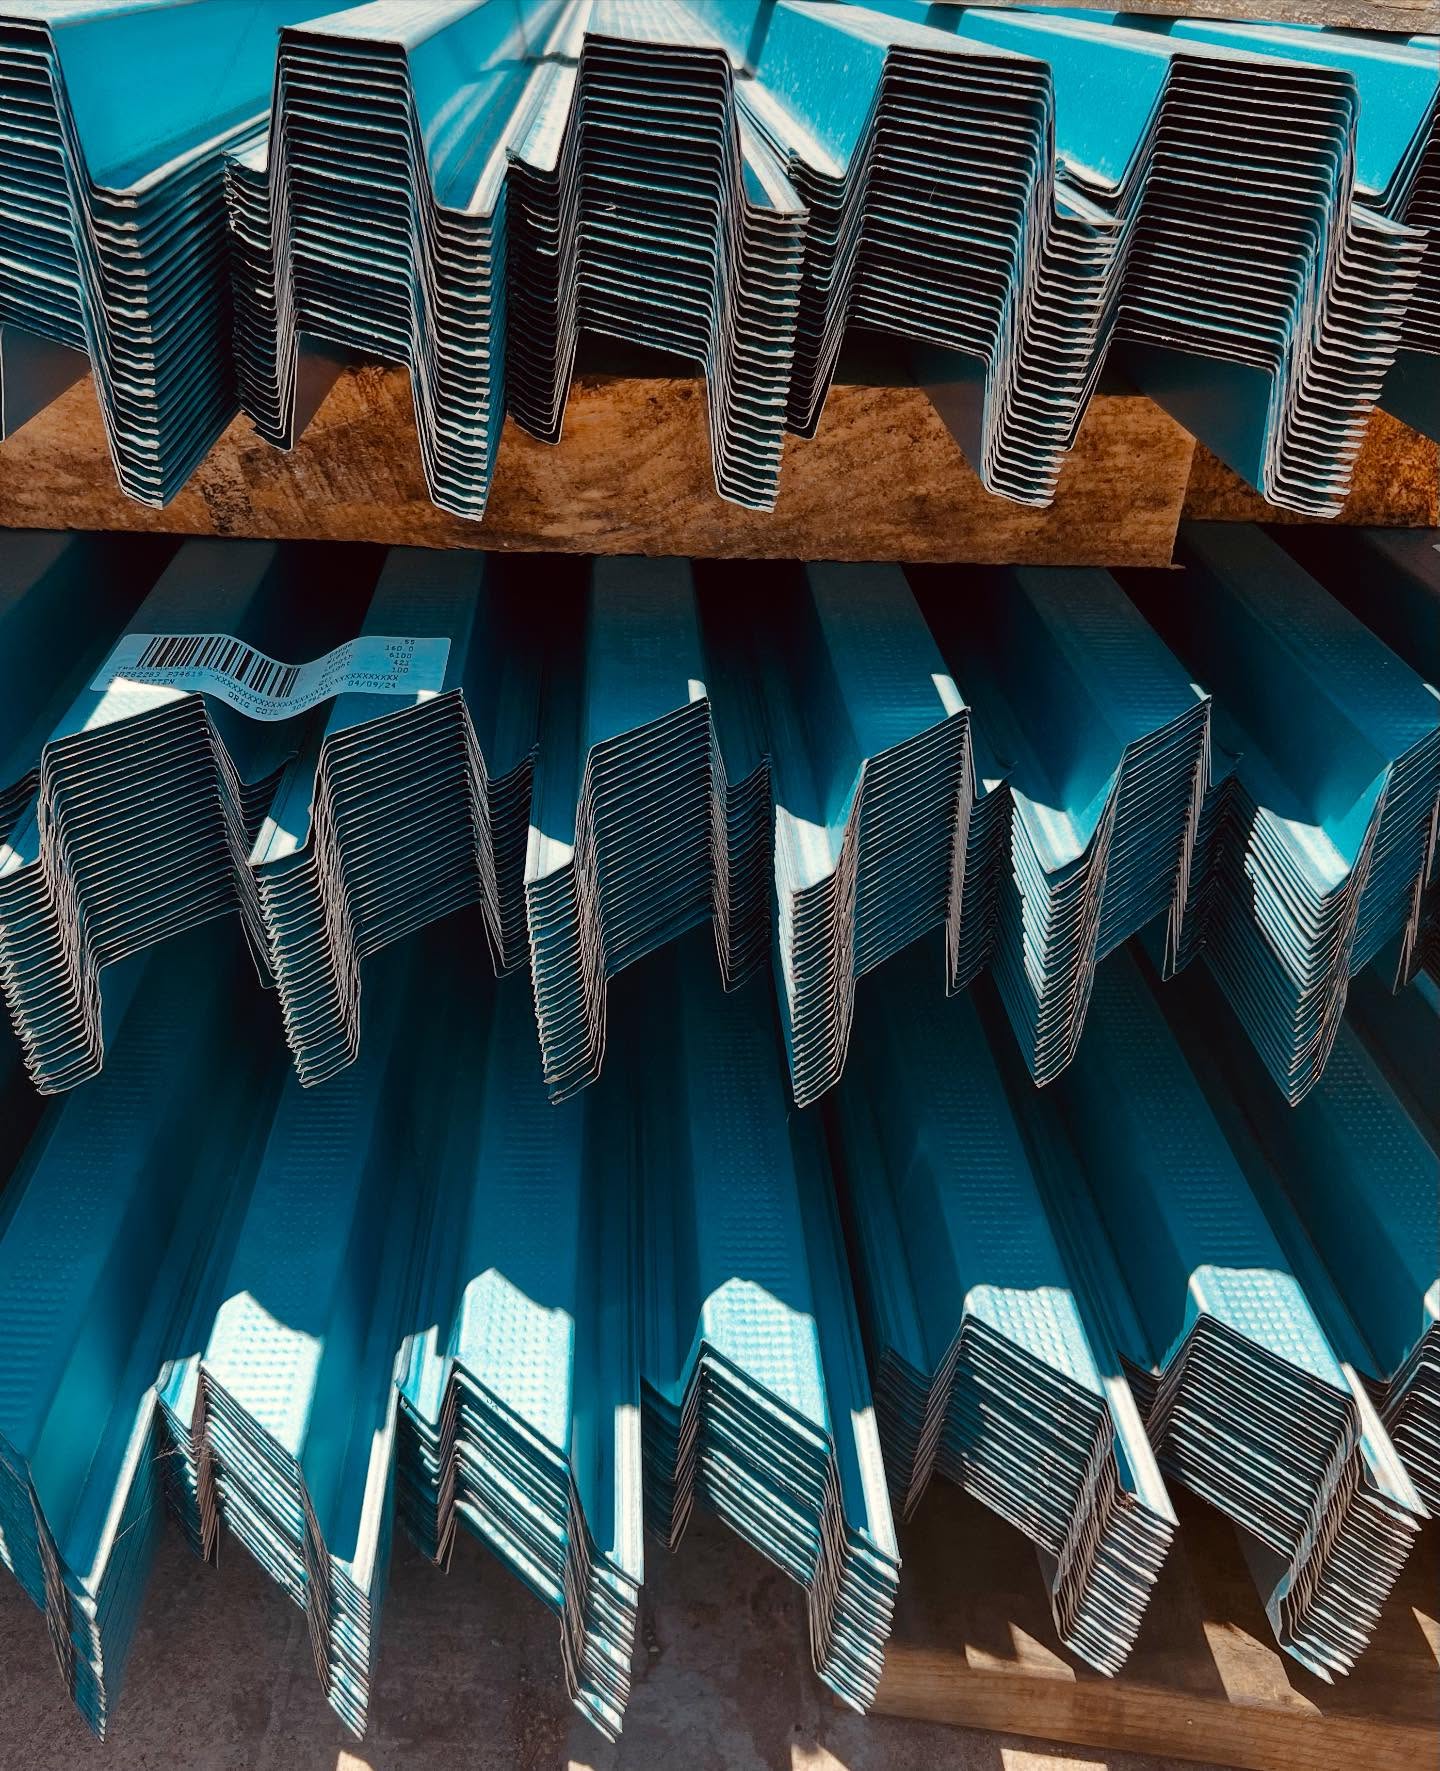
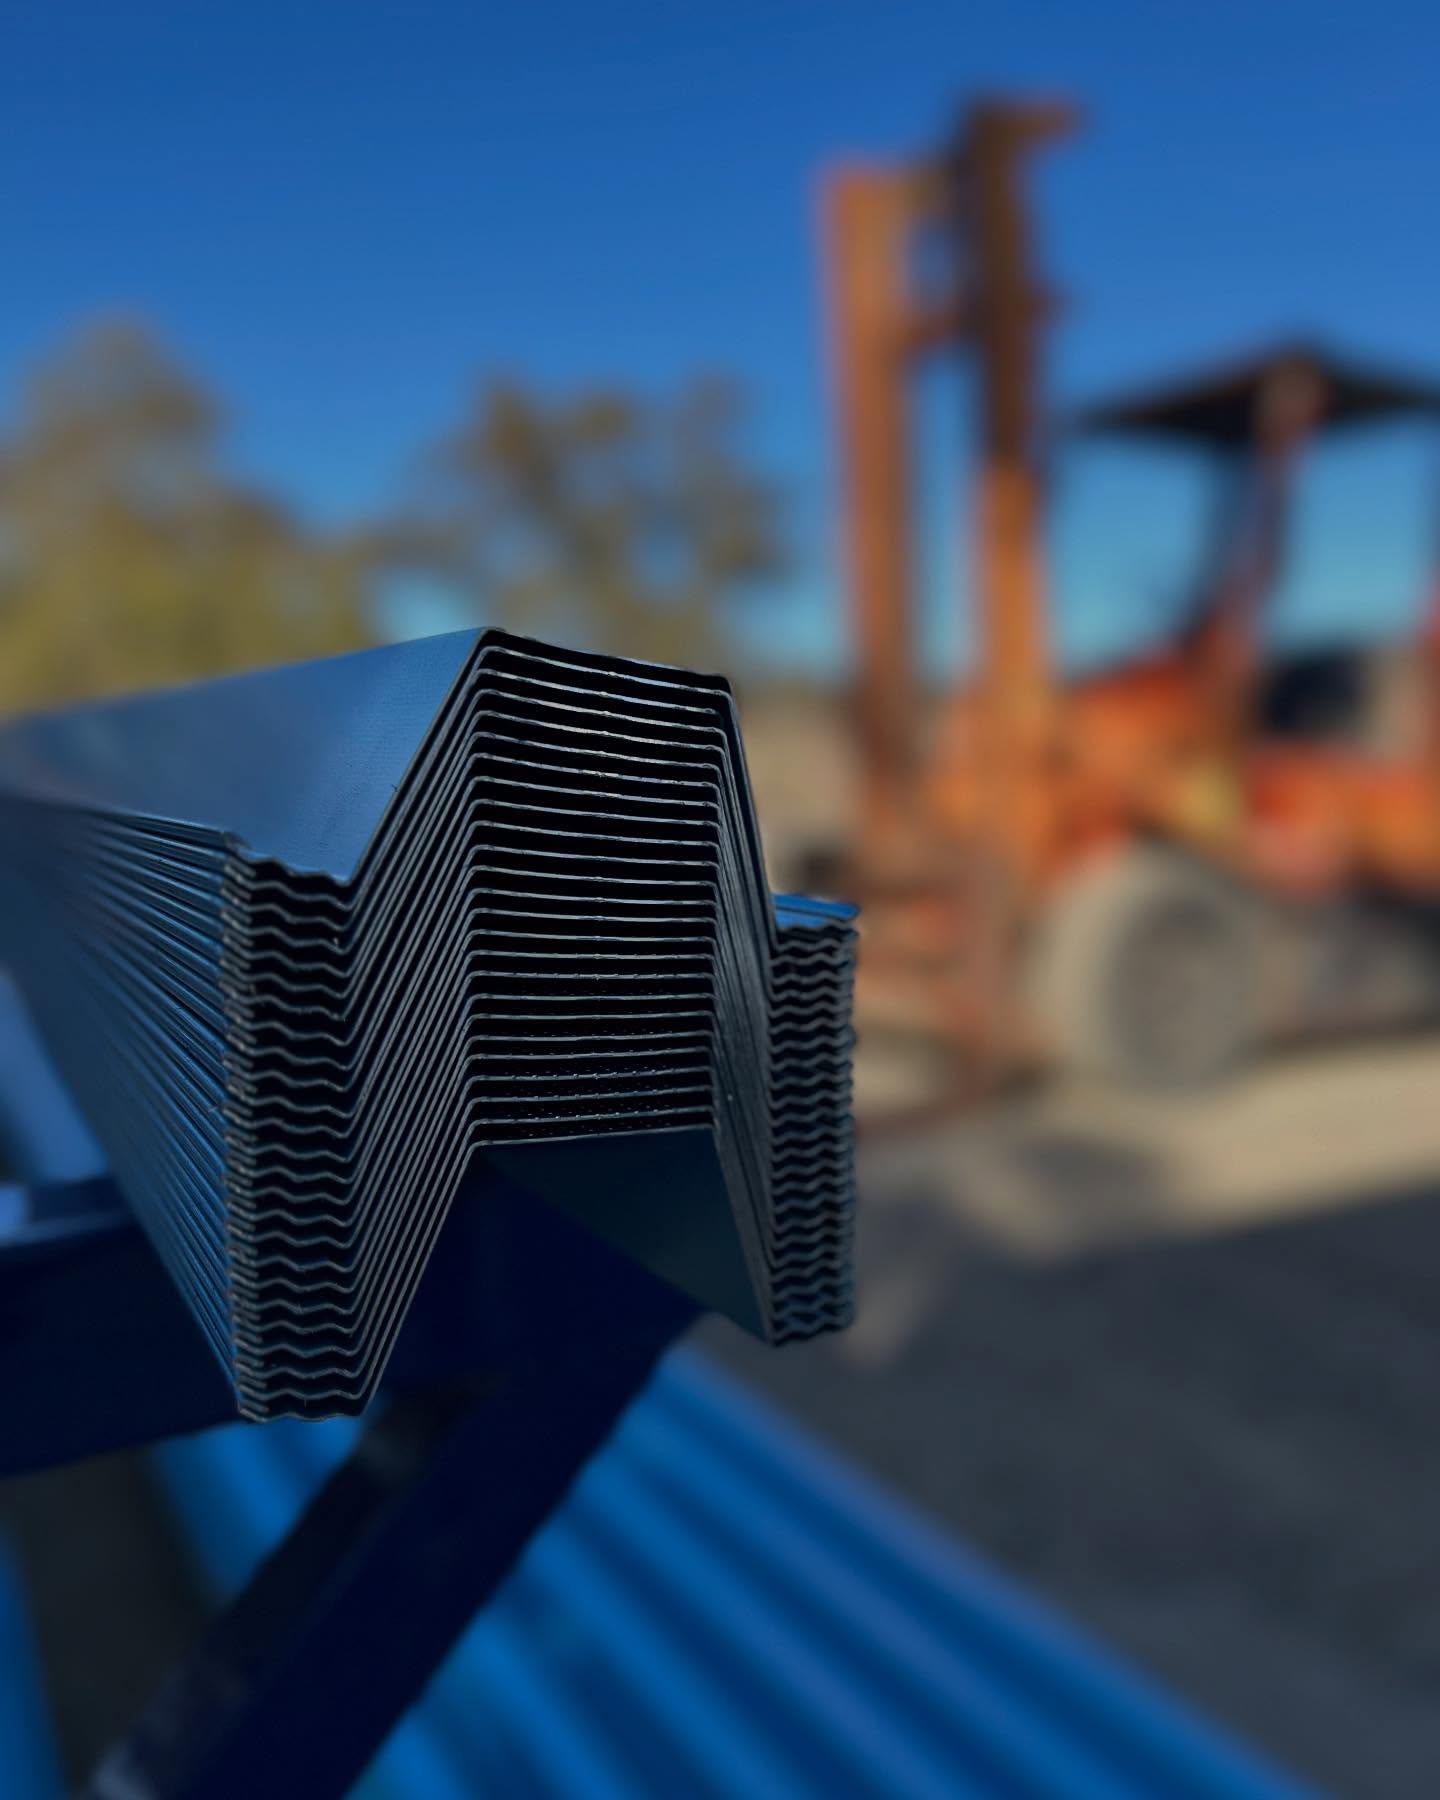
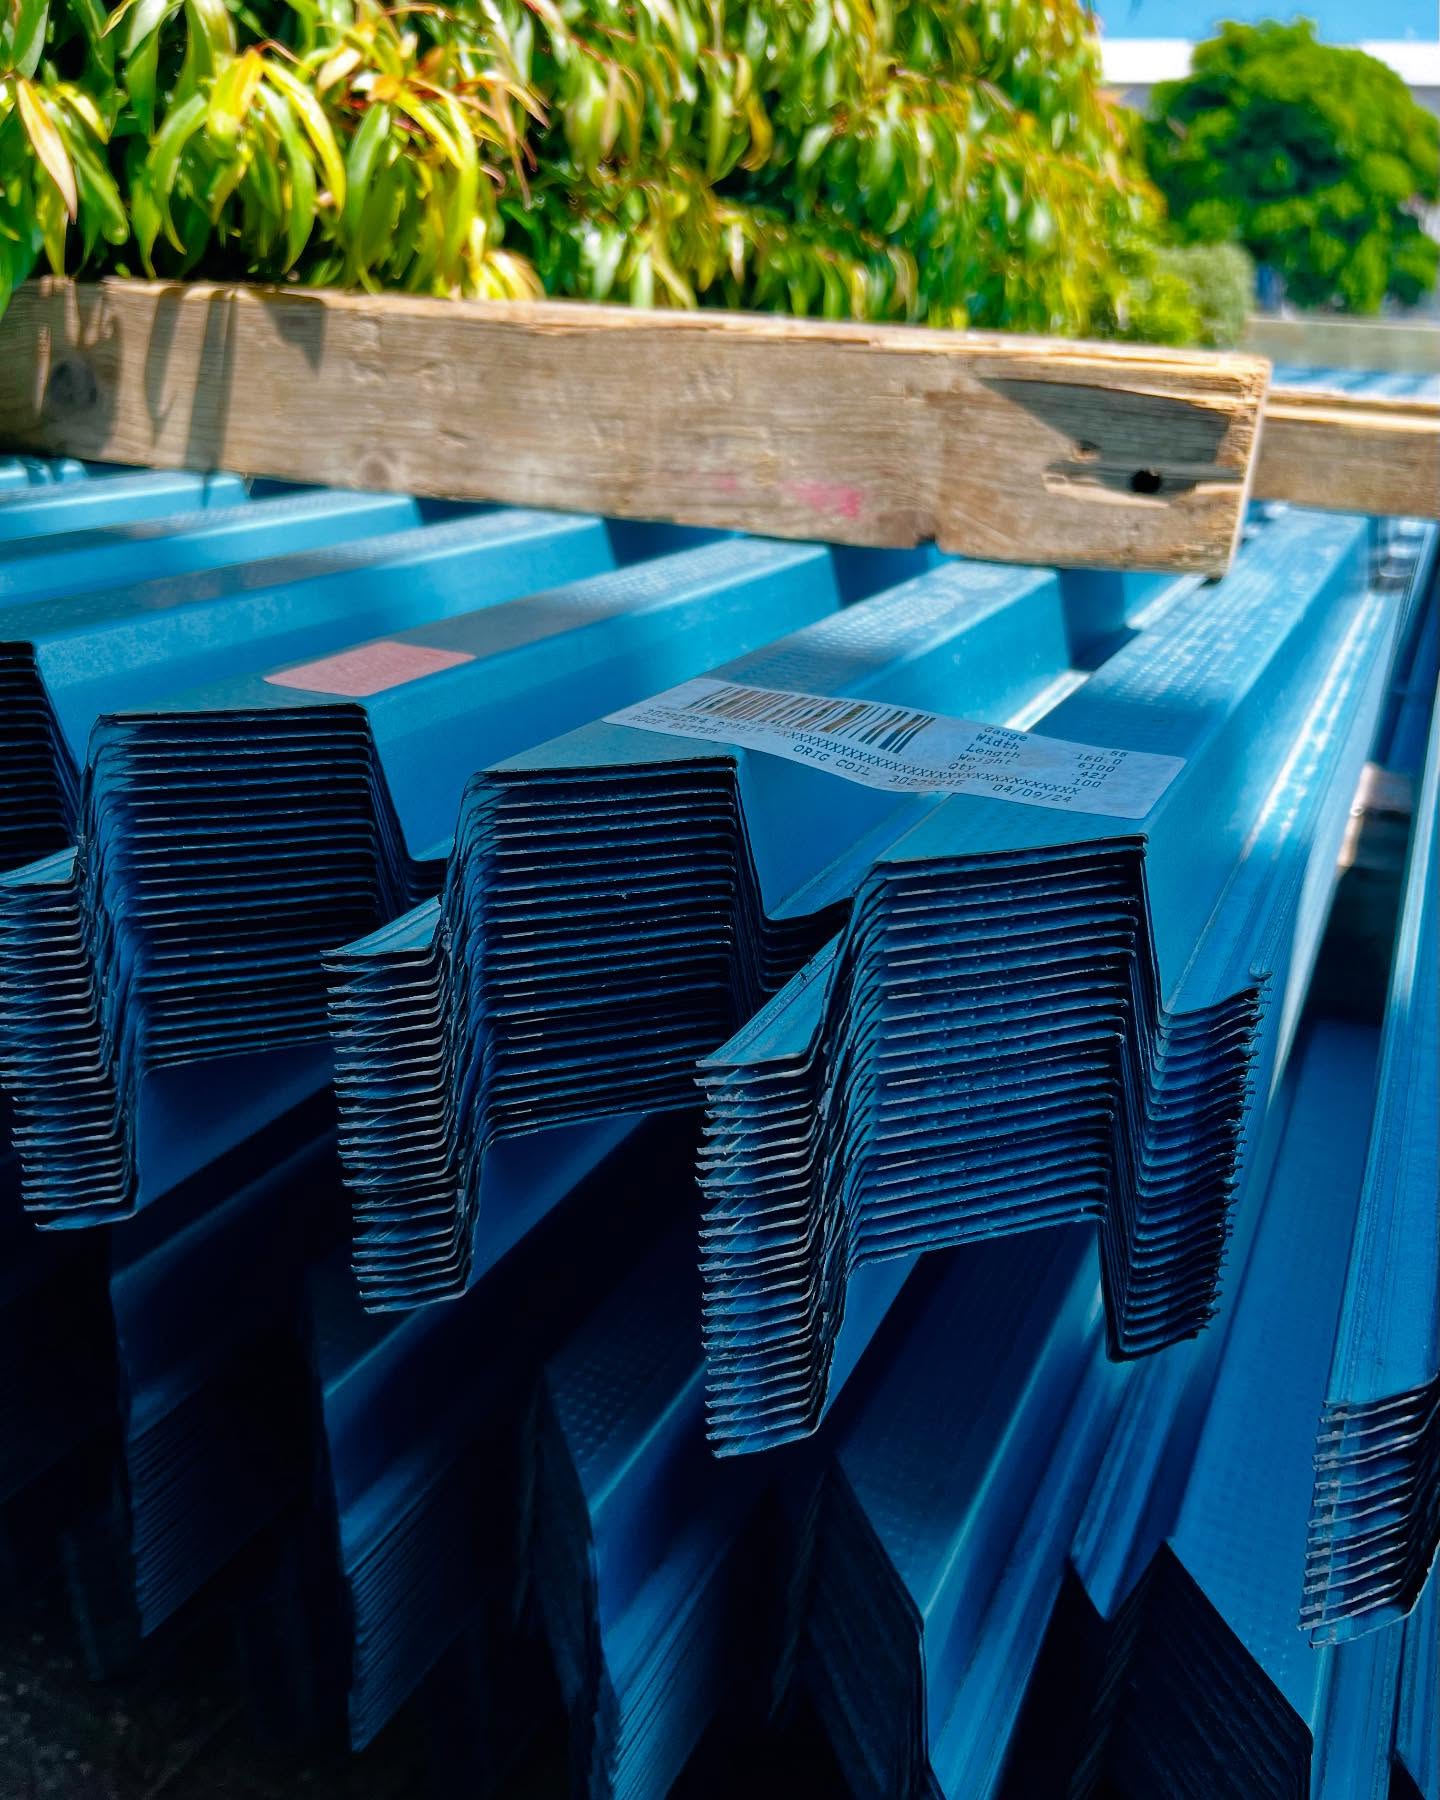
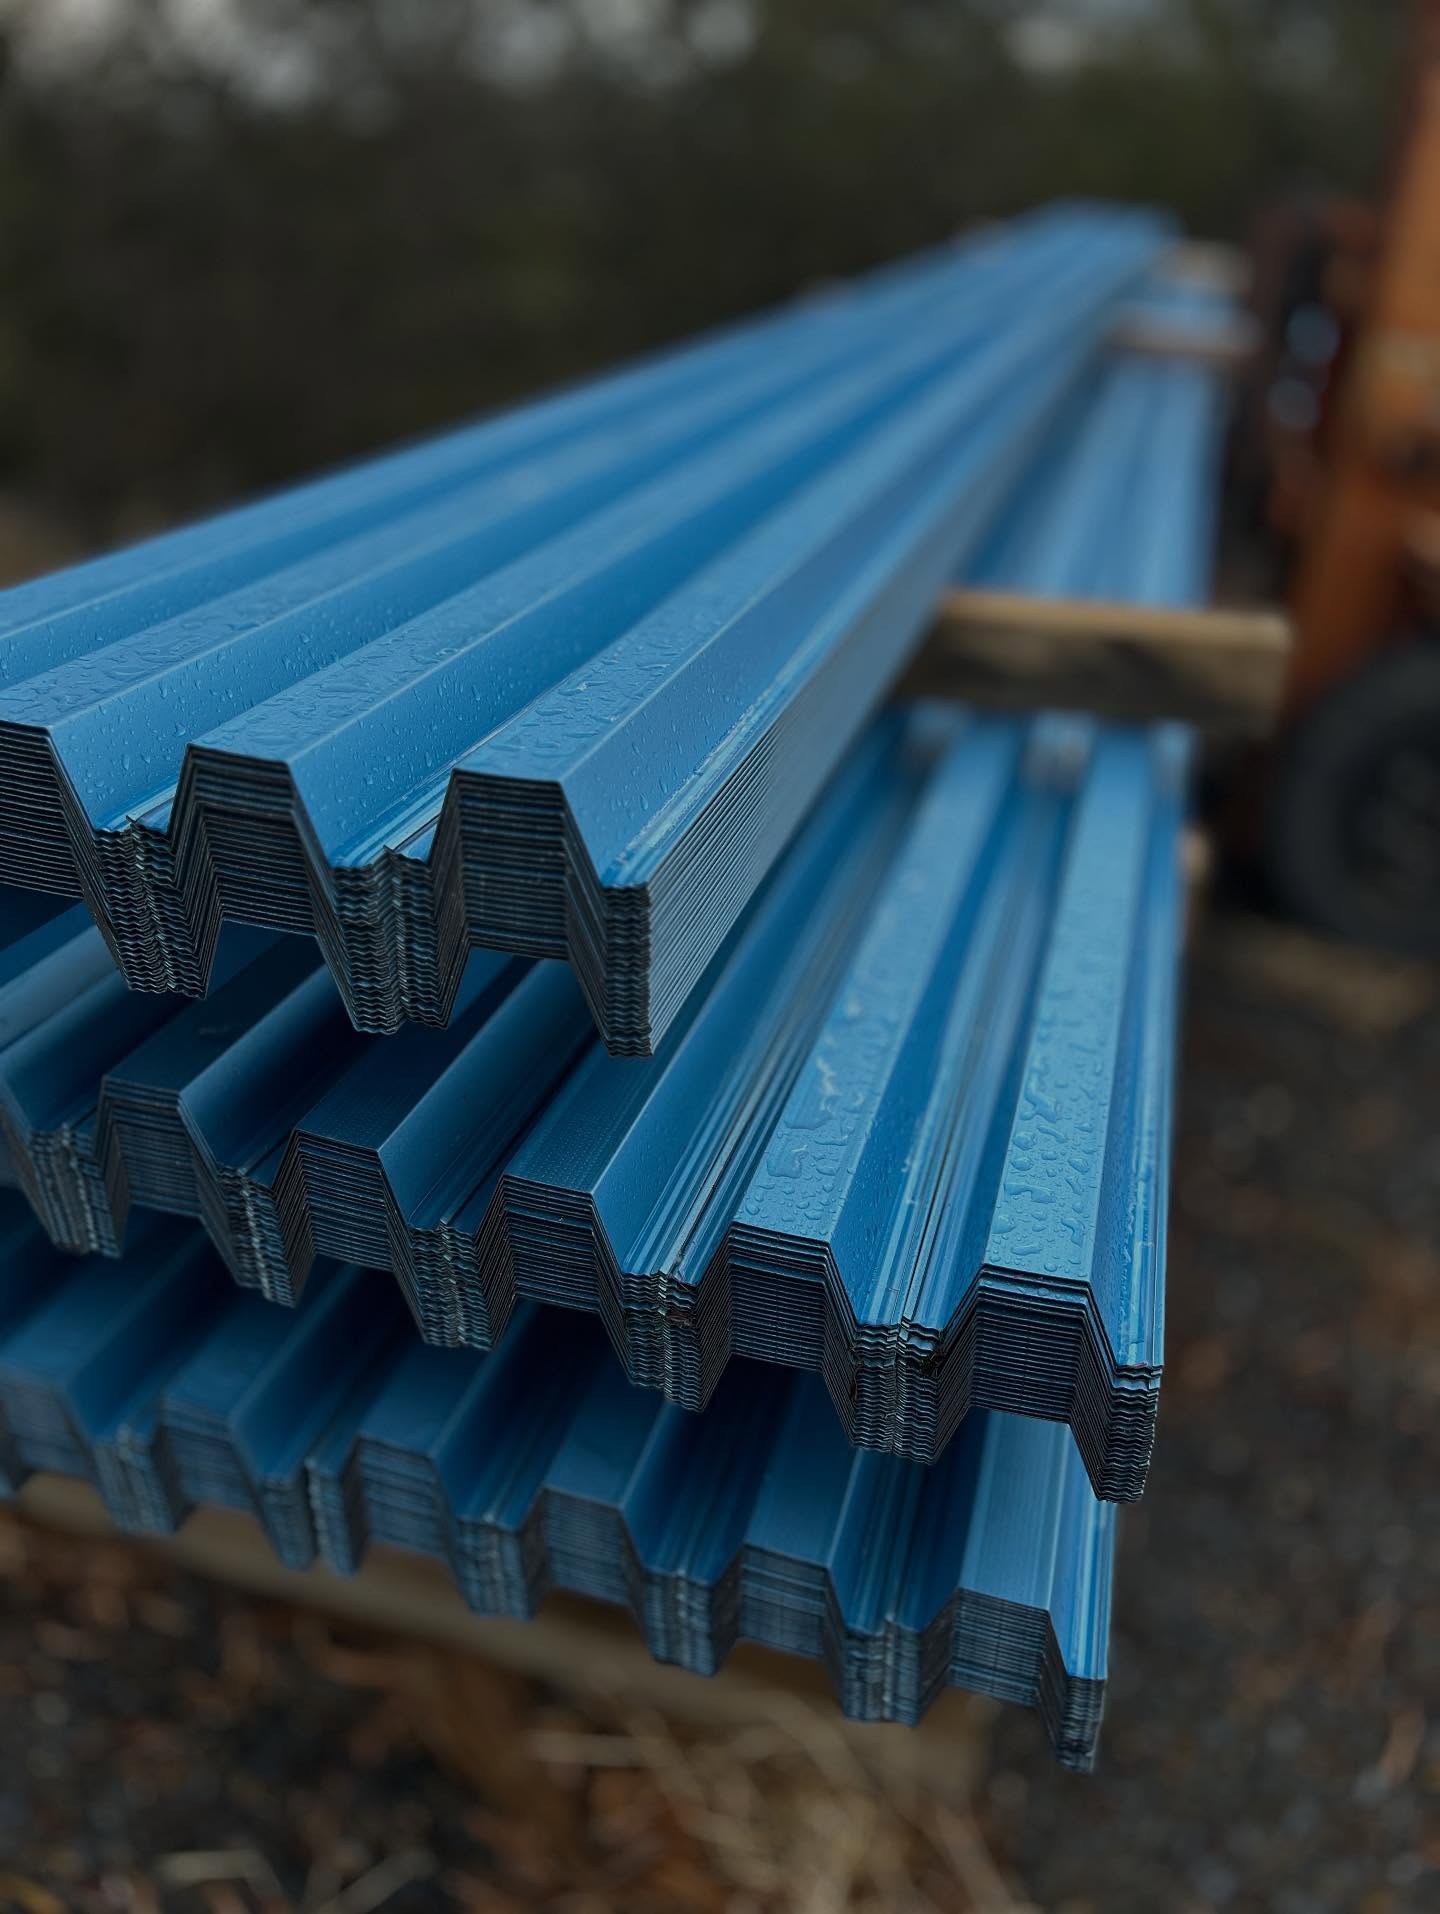
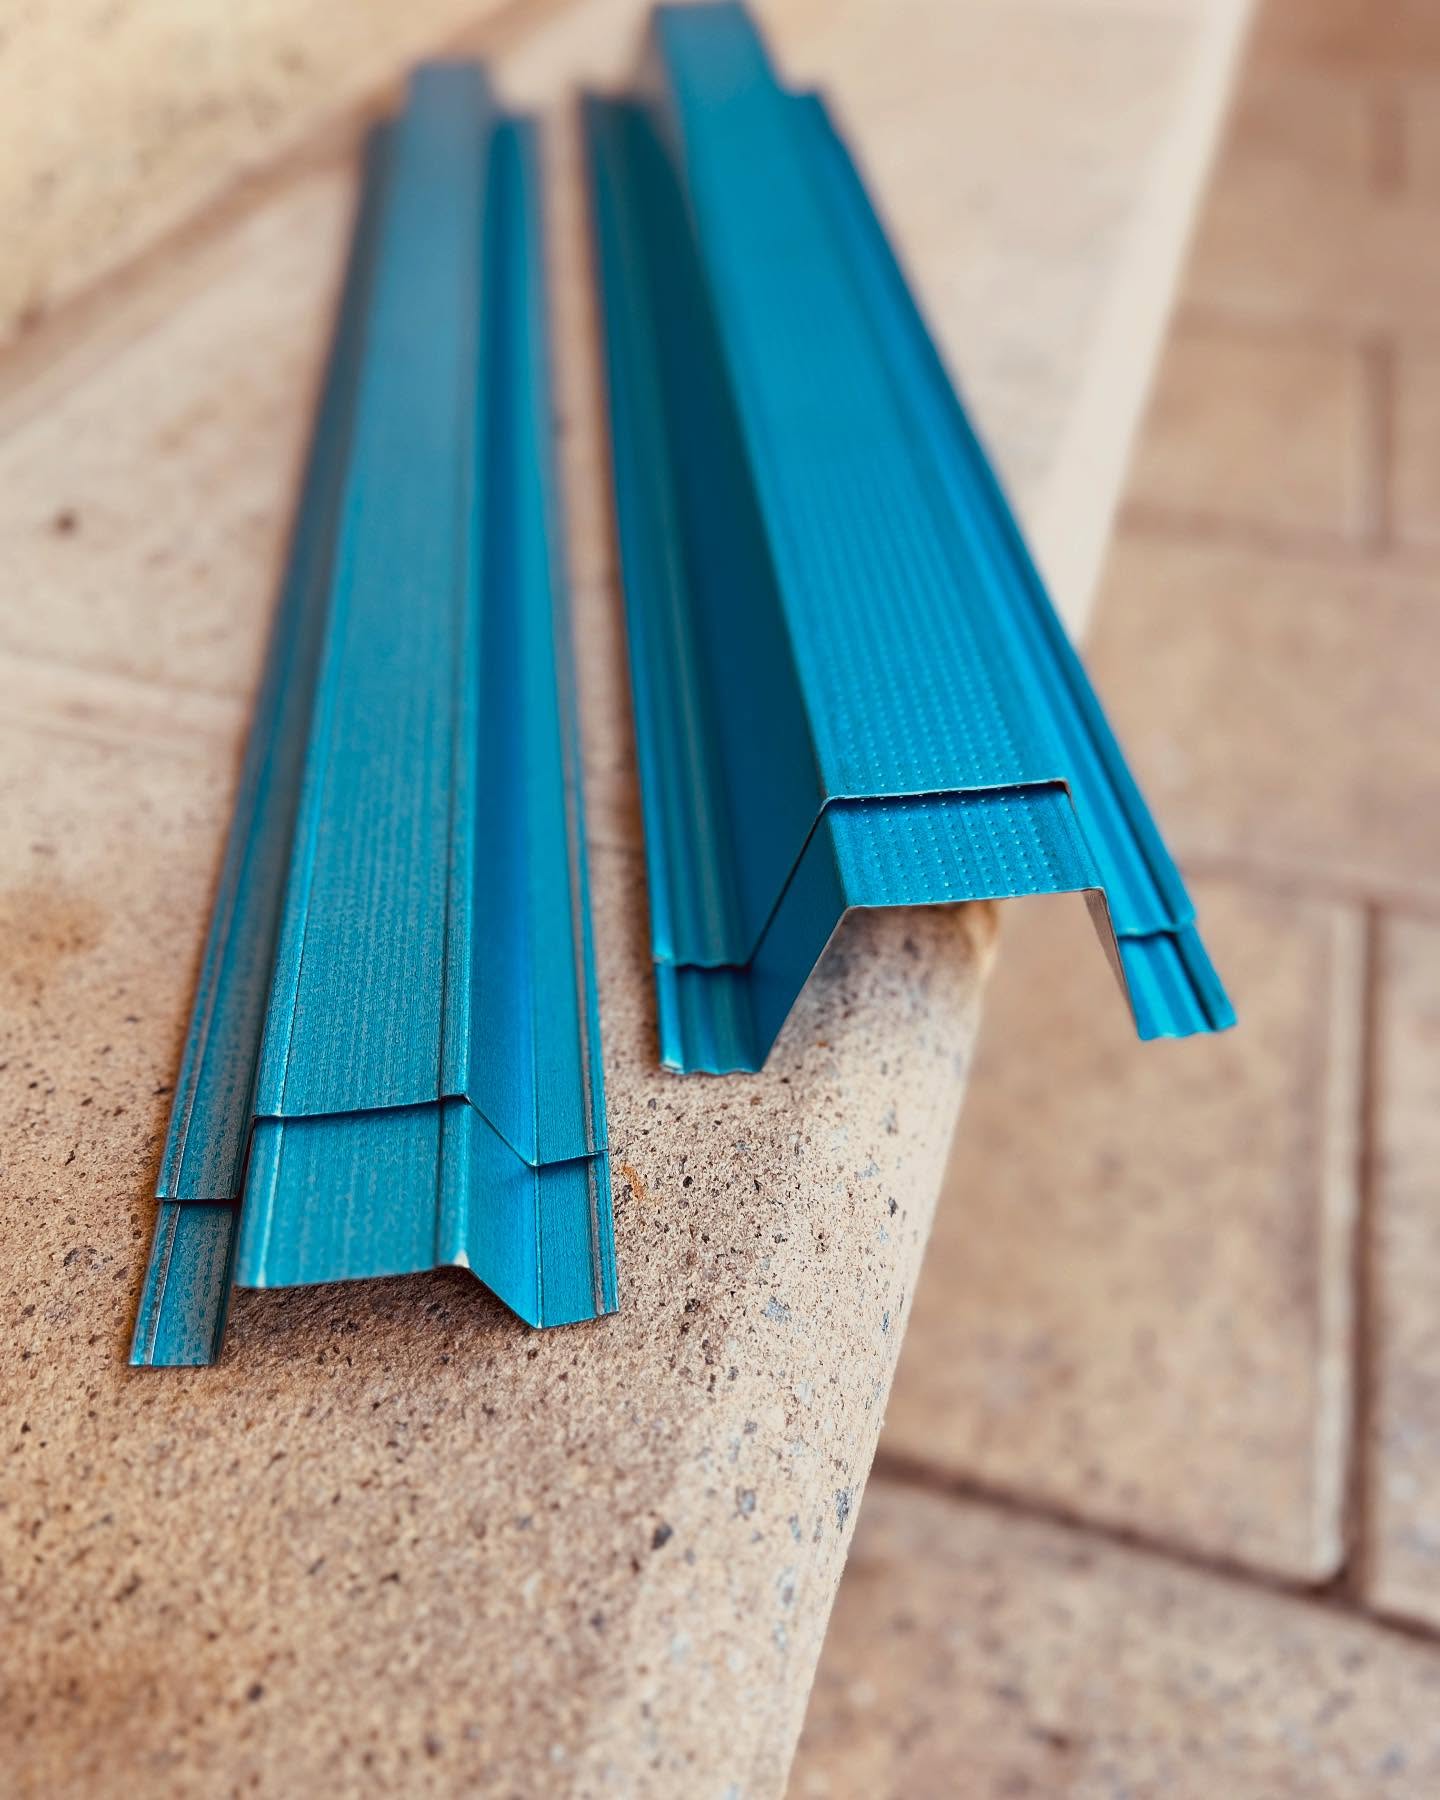
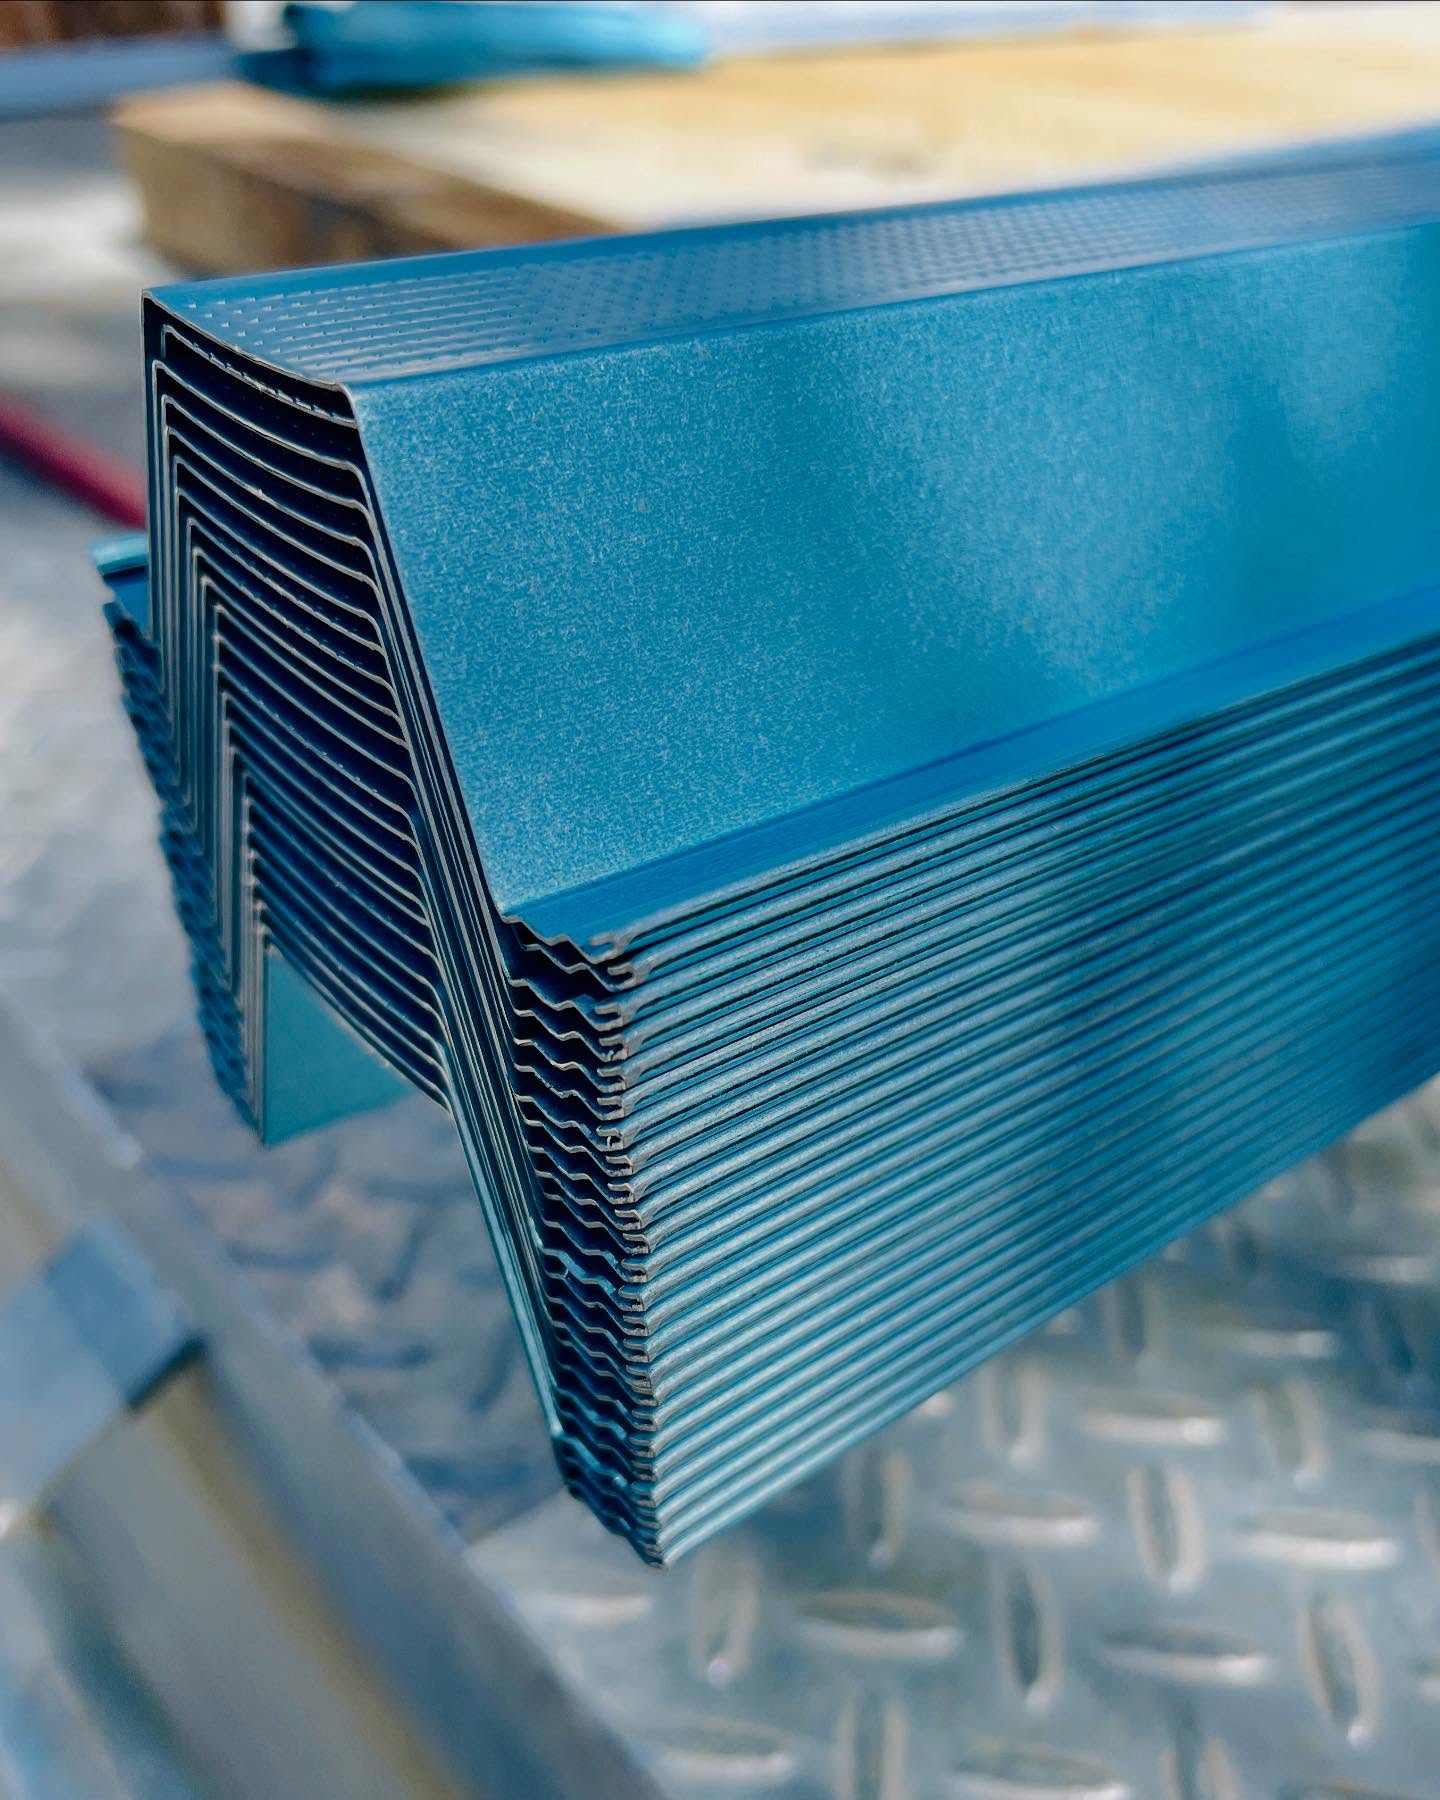
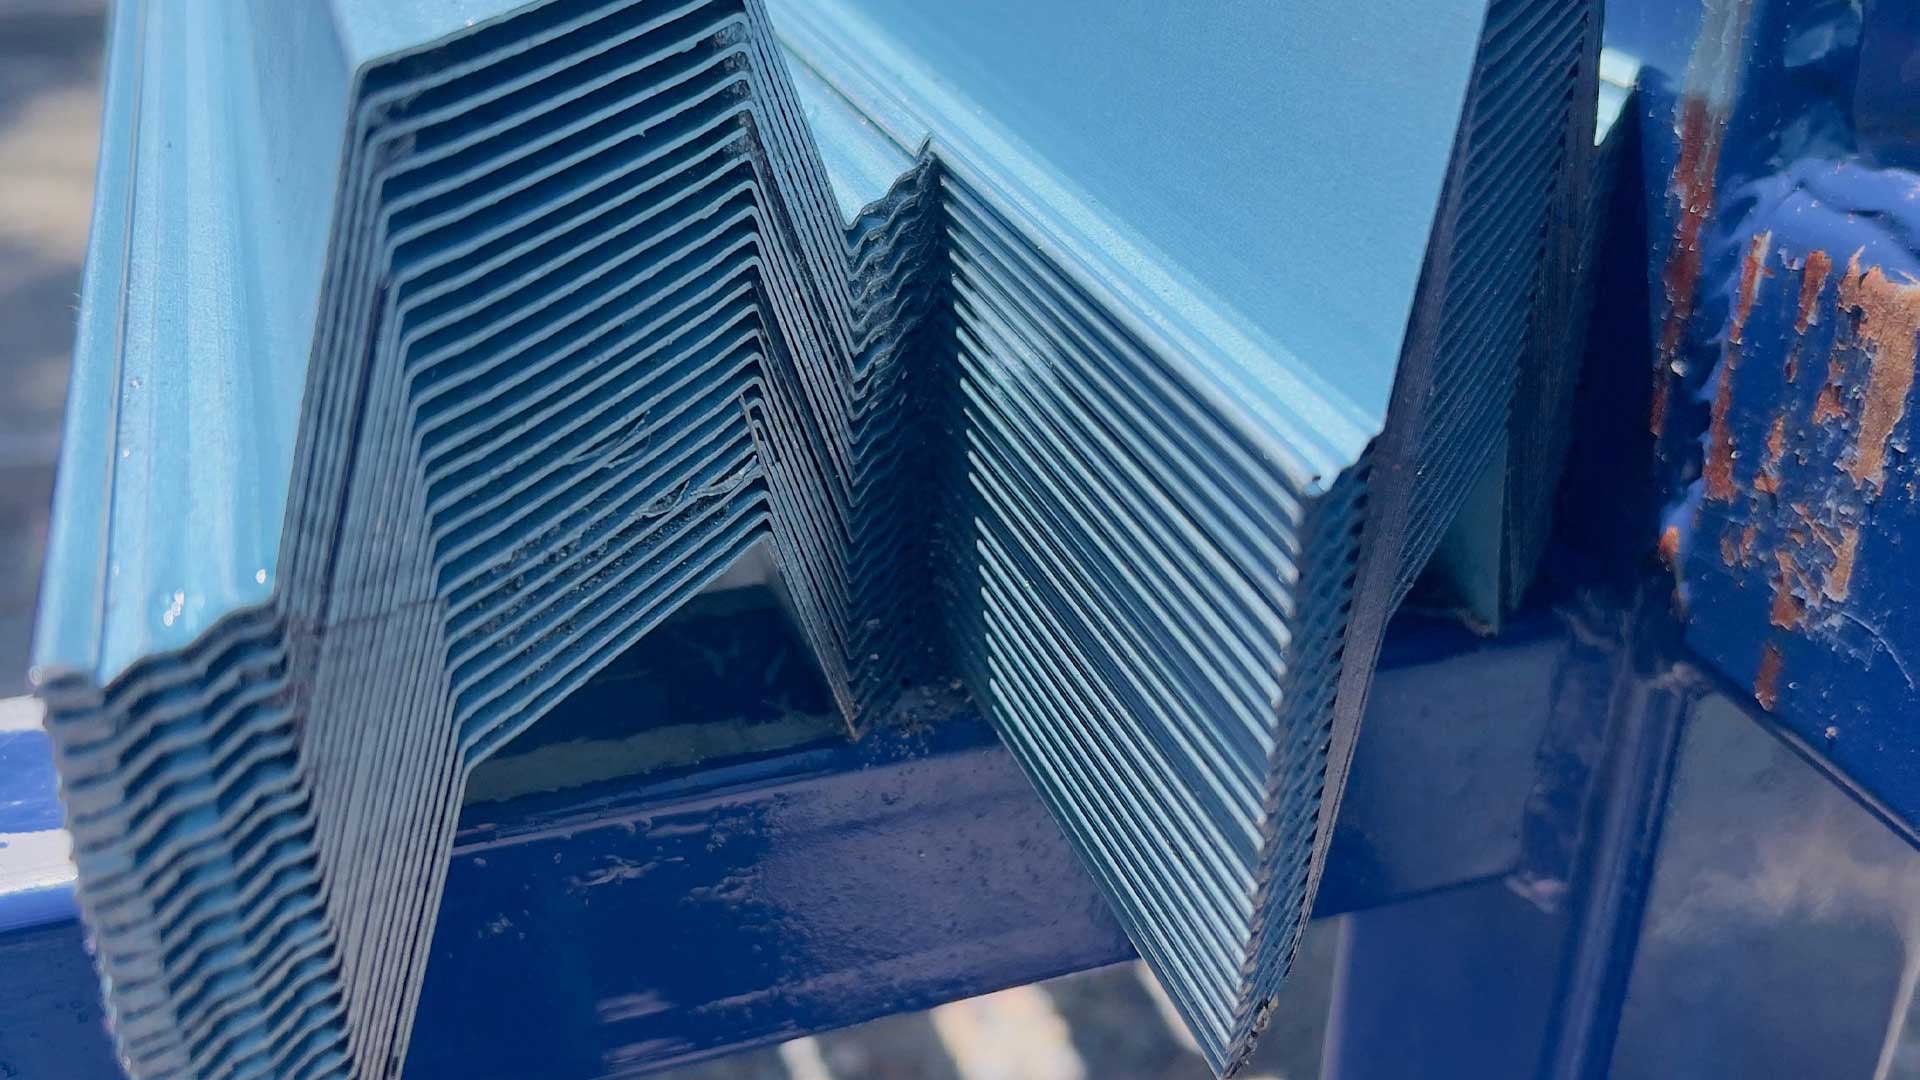
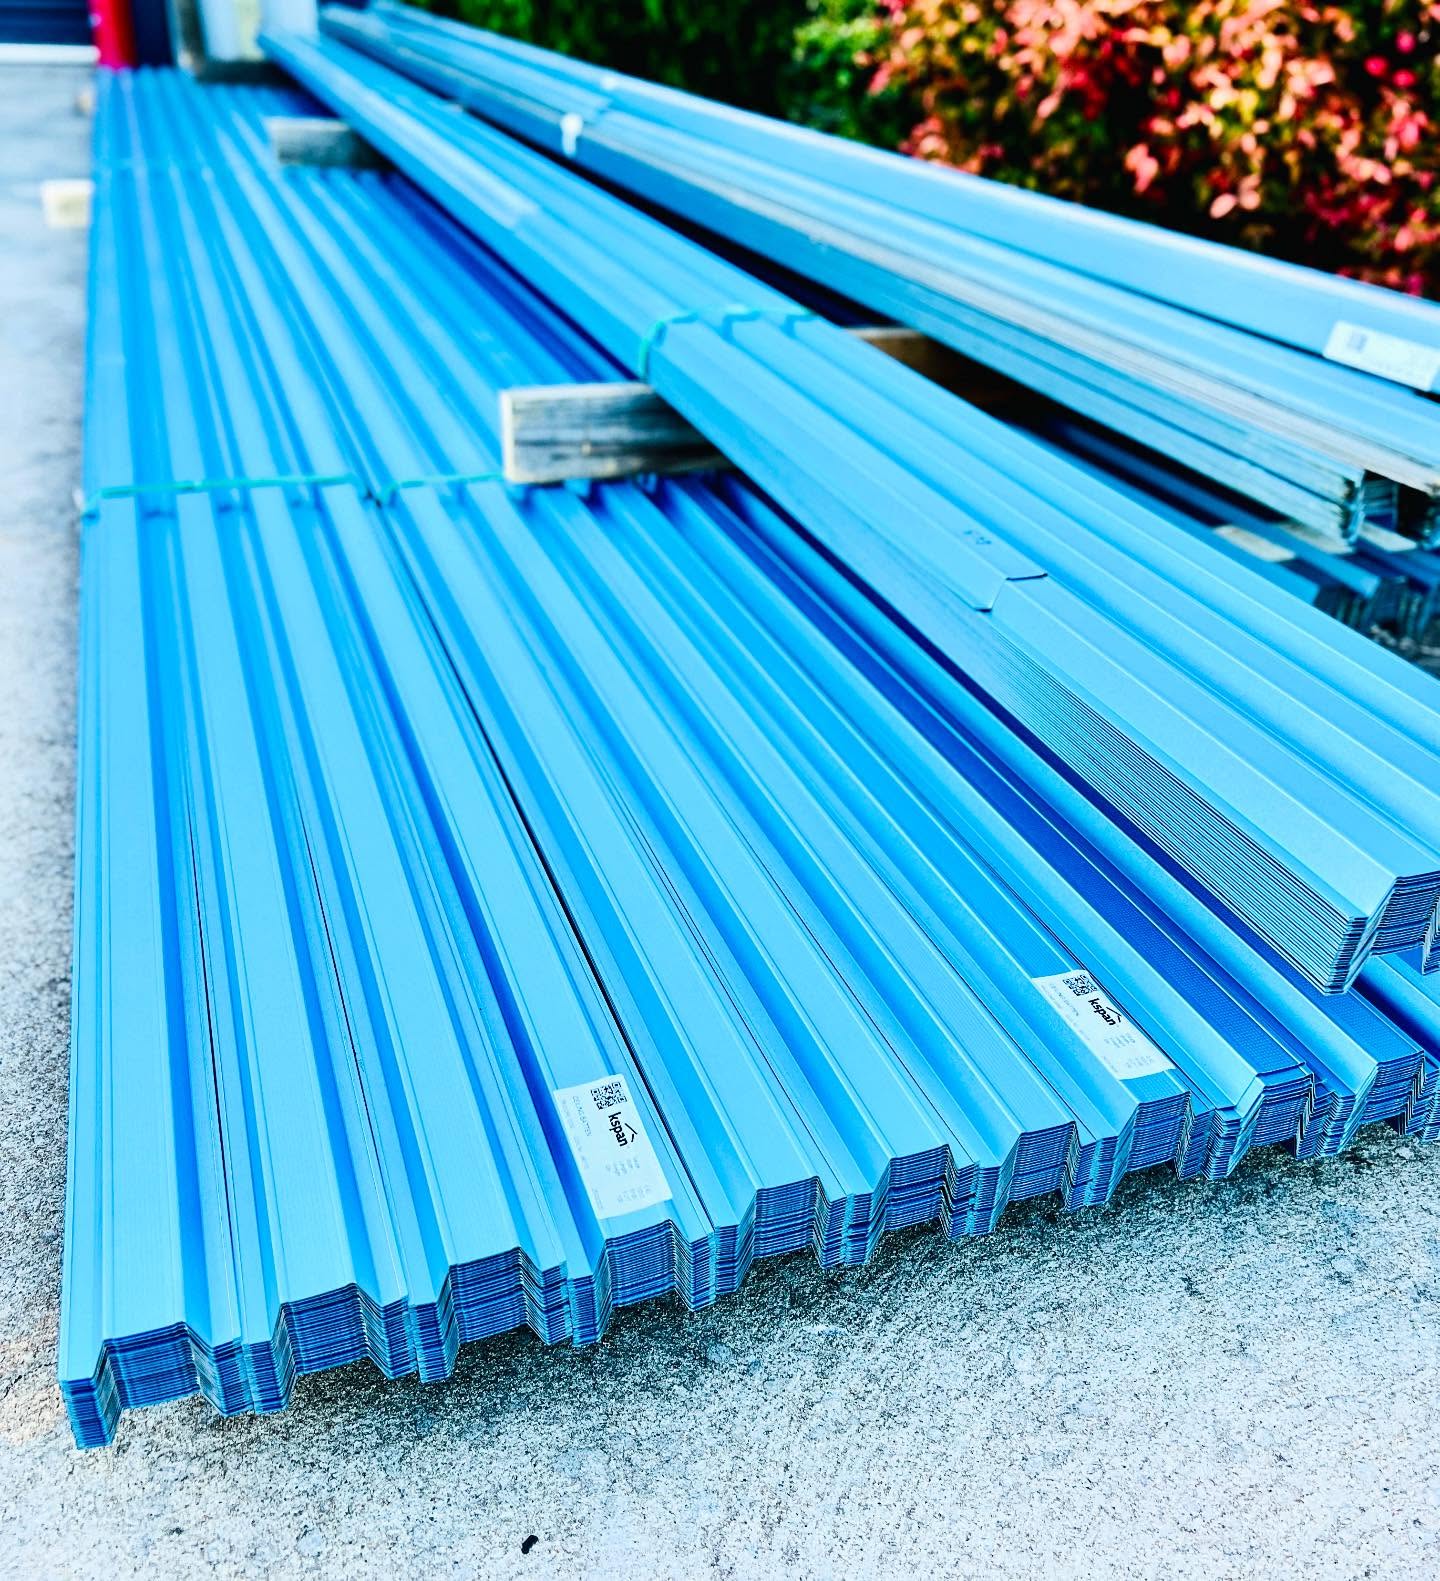
- Keep the section consistent.One profile, one BMT, across the whole ceiling. The standard Kspan section is a 22mm top hat in 0.42mm BMT, and mixing crown heights builds a step into a plane that must be flat.
- Land the joints.Plan the sheet layout before fixing battens so every board end joint has a batten behind it, and the last bay stays at spec rather than whatever was left over.
SEC 04 / Level finish
Techniques for a perfectly level finish
Level is decided at the fixing stage, not at sheeting. The core of how to install metal ceiling battens well is treating the batten plane as the finished surface, because the board will copy it exactly.
- String the plane first.Run a string line or laser across the room at batten height and find the lowest support. That low point sets the plane, and everything else packs down to meet it.
- Pack at the fixings.Where a joist sits high of the plane, pack between flange and frame at the screw point so the batten is not drawn up out of line as the screw tightens.
- Check as you go.Sight along each batten after fixing, then check the line across three or four battens at a time. Steel is consistent, so a bump is almost always the frame, not the batten.
- Walk the perimeter last.Confirm the edge battens sit within about 50mm of the wall and on the same plane. The cornice line is where a lumpy ceiling shows first.
Do those four things and the board goes on without a fight. That is how to install metal ceiling battens correctly: set out from the board, fix through the flanges, and let a straight product do what it is made for.
Ceiling battens cut to your job
Send the room sizes, joist centres and lining type. We quote within one business day and despatch 22mm top hat ceiling battens across Adelaide, the hills and regional SA.
This guide describes general installation practice for metal ceiling battens under plasterboard. Always follow the lining manufacturer’s installation guide, the relevant Australian Standards and safe work practice for working at height, and confirm the setout against the project documentation.